
How to Build a PC in Nepal: Step-by-Step Guide for Beginners (2026)
Short answer: To build a PC, first check that every part fits. Then fit the processor, cooler, RAM and M.2 SSD to the motherboard, mount the board in the case, add the power supply and graphics card, connect the cables, and install Windows from a USB drive. A first build takes most people two to three hours. In Nepal, Quality Computer assembles it free when you buy the parts from us, or for Rs 3,000 if you bought them elsewhere.
Shop at Quality Computer
Parts for your build View all →
What you need to build a PC
Eight parts make a working desktop. If your processor has graphics built in, such as an AMD Ryzen G-series chip, you can skip the graphics card.
| Part | What it does | What to check before you buy |
|---|---|---|
| Processor (CPU) | Runs everything | Its socket, for example AM4, AM5 or LGA1700 |
| Motherboard | Connects every part | Same socket as the CPU; DDR4 or DDR5; ATX or micro-ATX size |
| RAM | Short-term memory | The type the board takes; two sticks for dual channel |
| SSD | Holds Windows and your files | M.2 NVMe or 2.5-inch SATA, and a free slot for it |
| Graphics card | Runs games and video work | Length fits the case; the power supply meets the maker's figure |
| Power supply (SMPS) | Powers everything | Enough watts and the right cables for the graphics card |
| Case (casing) | Holds and cools it all | Takes your board size, card length and cooler height |
| CPU cooler | Keeps the processor cool | Many processors include one in the box |
Tools: a Phillips No. 2 screwdriver, a USB drive of at least 8GB for the Windows installer, a clean table with good light, and the motherboard manual. Touch a bare metal part of the case before you handle parts, to get rid of static.
Step 1: Check that every part fits
Many first-build problems start here, before a single screw goes in. Check four things: the processor and motherboard share a socket and the board's CPU support list includes your processor (some need a BIOS update first), the RAM is the type the board takes, the board and graphics card fit the case, and the power supply meets the graphics card maker's recommendation. For example, NVIDIA lists a 550W power supply for the RTX 5060.
The easy way is our custom PC build in Nepal tool. Pick a processor and the PC Builder shows only the parts that fit it, with live prices. If you want a starting point, our gaming PC by budget guide has complete builds from our stock, and our motherboard guide explains sockets and chipsets.
Step 2: Fit the processor
Do steps 2 to 4 with the motherboard lying on its box, not in the case. It's much easier to reach everything.
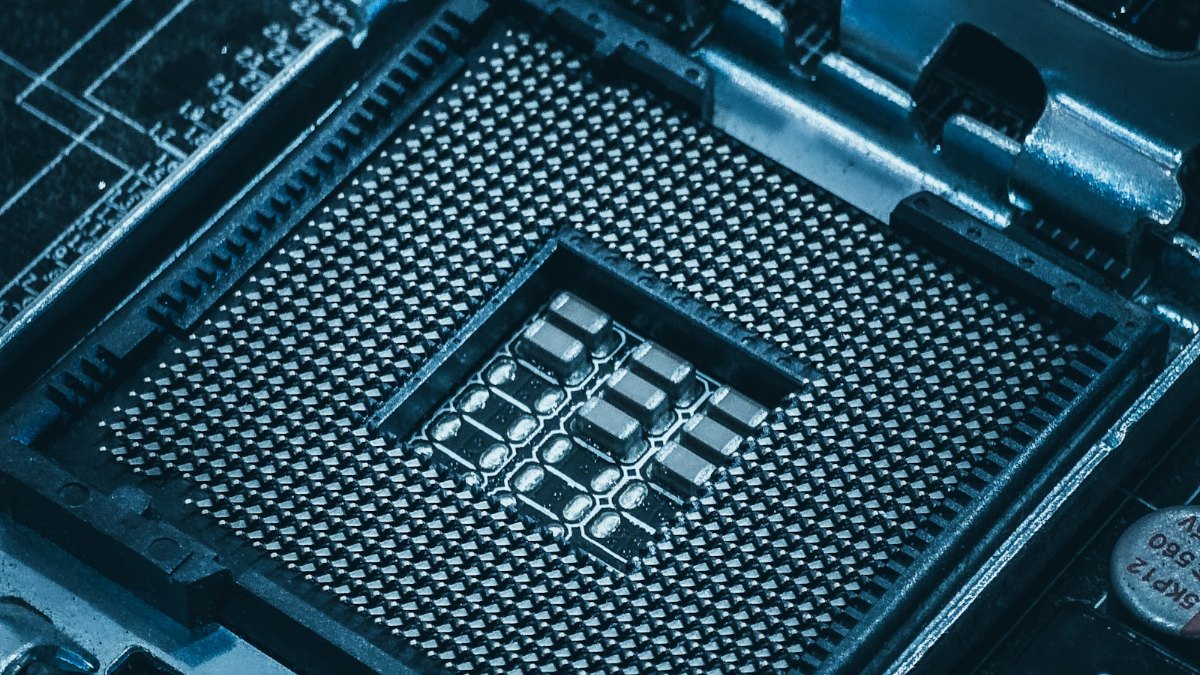
- Lift the socket lever (on Intel and AMD AM5 boards, the lever opens a metal load plate too).
- Find the small triangle on one corner of the processor and match it to the triangle on the socket.
- Lower the processor straight down. Don't push. It should sit flat on its own.
- Close the lever (and the load plate). On Intel and AM5 boards the plastic socket cover pops off as you close it; keep it, because the board maker may need it for a warranty claim.
Never touch the gold contacts or the pins on the processor or in the socket. The lever needs firm pressure to close, but never press on the processor itself: if it doesn't sit flat on its own, lift it out and check the triangle.
Step 3: Fit the CPU cooler
Coolers that come in the box, like the Wraith Stealth with the Ryzen 5 3600, have thermal paste already on them. Line up the cooler with its mounting points and tighten the screws a little at a time, in a cross pattern, so the pressure stays even (Intel's box cooler uses four push pins instead; push each until it clicks). Plug the cooler fan into the header marked CPU_FAN.
A separate cooler usually comes with its own paste. Peel off any plastic film on the cooler's base before fitting it. If you forget it, the processor will run far too hot.
Step 4: Fit the RAM and M.2 SSD
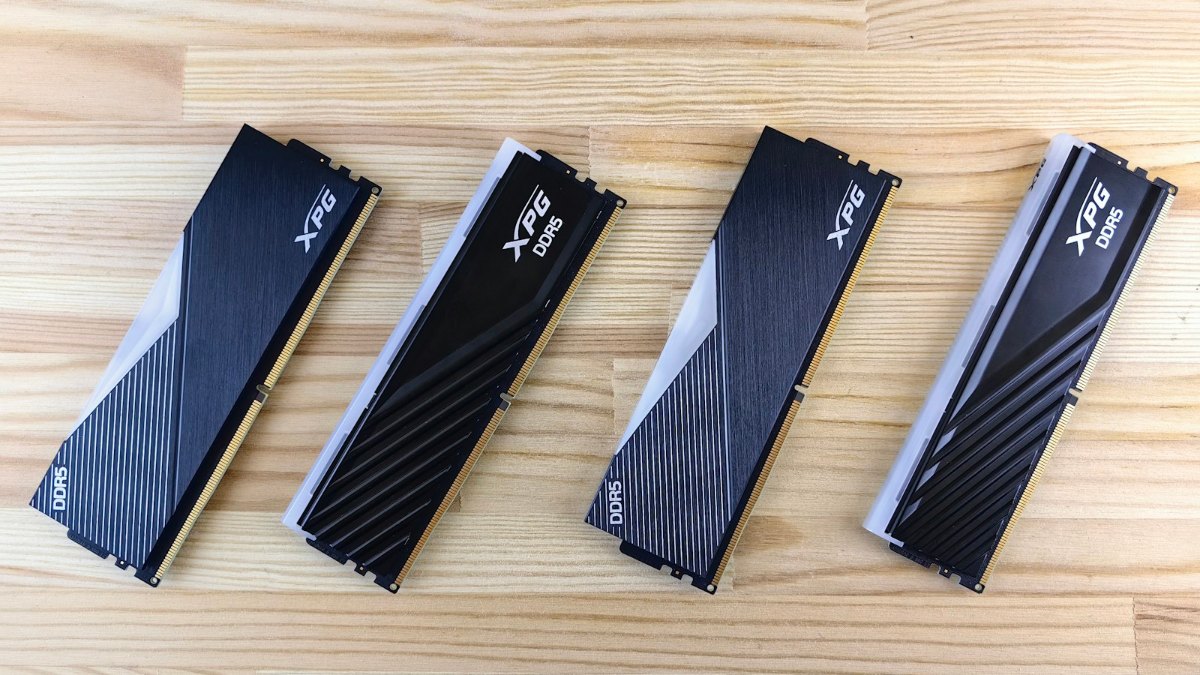
Open the clips on the RAM slots, line up the notch on the stick with the key in the slot, and press firmly on both ends until the clips click. On a board with four slots, use the two your manual marks for two sticks, usually the second and fourth from the processor (often labelled A2 and B2). On a two-slot board, such as the MSI H510M-A PRO, use both. Either way you get dual channel, which is noticeably faster than two sticks side by side.
For an M.2 NVMe SSD, remove the heatsink or screw over the M.2 slot, slide the drive in at a slight angle, press it down and fix it with the screw or latch. Our SSD guide explains M.2 NVMe and SATA.
Step 5: Mount the motherboard in the case
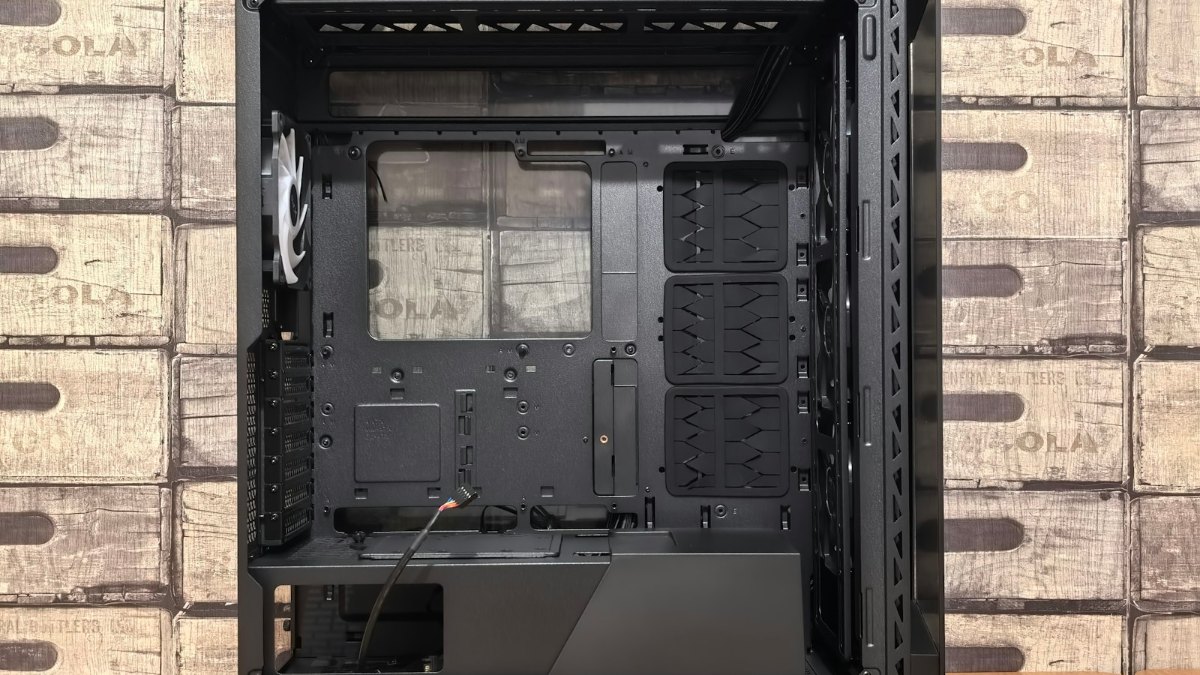
- Take off both side panels and lay the case flat.
- If your board came with a separate I/O shield (the metal plate for the rear ports), snap it into the back of the case first.
- Check that the brass standoffs in the case line up with the screw holes in your board. A standoff with no hole above it can short the board, so remove it.
- Lower the board in at an angle, ports first, and screw it down. Snug is enough; don't overtighten.
Step 6: Fit the power supply
Most cases take the power supply at the bottom. If the case has a vent and dust filter underneath, fit the power supply with its fan facing down so it pulls in cool air. Screw it in from the back and run its cables through to the front of the case before you fit the graphics card.
Step 7: Fit the graphics card
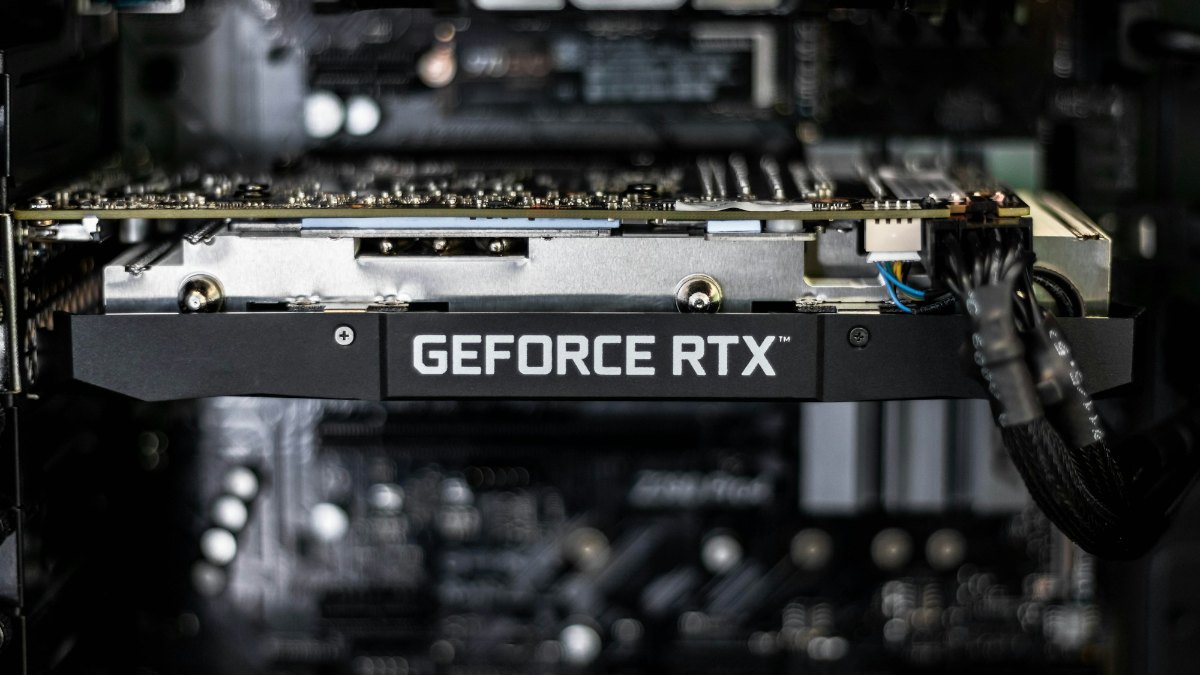
- Remove the slot covers at the back of the case where the card's bracket will sit. Most cards need two.
- Open the latch on the top long slot (PCIe x16) and press the card in until the latch clicks.
- Screw the bracket to the case.
- Connect the power cable from the power supply. The RTX 5060 takes one 8-pin cable. Bigger cards such as the RTX 5070 need two 8-pin cables through an adapter, or one 16-pin PCIe Gen 5 cable.
Our graphics card guide helps you choose one.
Step 8: Connect the cables
| Cable | Goes to |
|---|---|
| 24-pin power | The long socket on the right edge of the motherboard |
| 8-pin CPU power (EPS) | Top left corner of the motherboard, near the processor |
| PCIe power (6+2-pin) | The graphics card |
| Front panel (power switch, reset, LEDs) | Small pins at the bottom of the board; follow the diagram in the manual |
| Front USB and audio | Their headers on the board, marked USB and JAUD or HD_AUDIO |
| Case fans | Fan headers marked SYS_FAN or CHA_FAN |
| SATA data and power | Only for 2.5-inch SSDs and hard disks |
Route cables behind the motherboard tray where you can, and tie them with cable ties. Tidy cables help the case fans move air.
Step 9: First start and BIOS
Plug the monitor into the graphics card, not the motherboard, unless you have no graphics card. Switch on. The first start can take several minutes while the board tests the memory (on new DDR5 systems, sometimes 10 minutes or more), so don't switch it off.
When the BIOS opens (press Delete or F2 at start-up), check that it shows your processor, the full amount of RAM and your SSD. Then turn on the memory profile so the RAM runs at its rated speed: it's called XMP on Intel boards; on AMD boards it's EXPO (AM5, DDR5) or an XMP setting, sometimes called DOCP (AM4, DDR4). Also check that TPM is turned on (Intel PTT or AMD fTPM), because Windows 11 needs it and many boards ship with it off. Save and exit.
Step 10: Install Windows and drivers
- On another Windows PC, use Microsoft's Media Creation Tool to make a Windows 11 USB installer.
- Boot the new PC from the USB drive (the boot menu is usually F11, F12 or F8) and install Windows on your SSD.
- Install the chipset driver from AMD or Intel and the latest graphics driver from NVIDIA or AMD.
- Run Windows Update until nothing is left, then restart.
Windows needs a licence. Buy a genuine key: pirated copies are often loaded with malware, and many updates and features are only for genuine Windows.
Common first-build mistakes
| What happens | Usual cause | Fix |
|---|---|---|
| Nothing on screen, fans spin | Monitor plugged into the motherboard; or the 8-pin CPU cable is missing | Use the graphics card's port; connect the CPU cable |
| PC won't switch on at all | Front panel pins on the wrong header, or the power supply switch is off | Check the manual's front panel diagram; switch on the power supply |
| Only half the RAM shows | A stick isn't fully clicked in | Press both ends until both clips close |
| Processor runs very hot | Plastic film left on the cooler, or the cooler is loose | Remove the film, re-seat and tighten evenly |
| SSD missing in Windows setup | M.2 drive not fully seated | Re-seat the drive and fix the screw |
Tips for building a PC in Nepal
- Protect it from the power supply. Voltage swings and power cuts damage PCs and corrupt files. Use a UPS sized for your PC.
- Keep dust out. Pick a case with dust filters and clean them every month or two, especially in the dry season.
- Keep the boxes and the bill. Warranty claims in Nepal usually need both.
- Buy the parts from one shop, so there's one place to go if something doesn't work.
Prefer us to build it?
Plan your parts in our PC Builder and send the build to us on WhatsApp. Quality Computer assembles it free when you buy the parts from us, and for Rs 3,000 if you bought them elsewhere. We deliver assembled PCs all over Nepal, usually in 2 to 5 days, or you can collect it from our store in Birtamode, Jhapa. Here's a short video of one of our builds:
Video: how we build a gaming PC (Quality Computer)
A short look at a gaming PC build in our store.
Quick tip: Build it outside the case first. Fit the processor, cooler and RAM on the motherboard box, connect the power supply and graphics card, and check it starts before anything goes in the case. If it doesn't start there, you've saved yourself an hour of taking it apart.
PC parts in our store
These are in stock on our website today. They are a mix of parts, not one build: the AM4 Ryzen 5 3600 and the Intel H510M-A PRO board, for example, don't fit together. For a full build that fits, start in the PC Builder.
| Product | What it is | Our price |
|---|---|---|
| AMD Ryzen 5 3600 | Processor, AM4, 6 cores | Rs 14,200 |
| MSI H510M-A PRO | Motherboard for Intel 10th and 11th gen | Rs 15,000 |
| Huntkey Frozen 400SE | 120mm CPU cooler | Rs 3,500 |
| PNY RTX 5060 OC 8GB | Graphics card for 1080p gaming | Rs 86,900 |
| PNY CS1031 500GB | M.2 NVMe SSD | Rs 14,900 |
| ANT Esports VS700L | Power supply | Rs 4,400 |
| ANT Esports ICE-112 | ATX mid-tower case | Rs 5,800 |
| ANT Esports Superflow 120mm | RGB case fan | Rs 600 |
Prices checked on 9 November 2026.
In our store
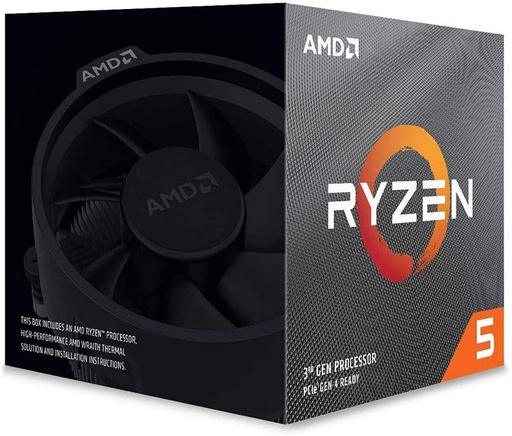
AMD Ryzen 5 3600
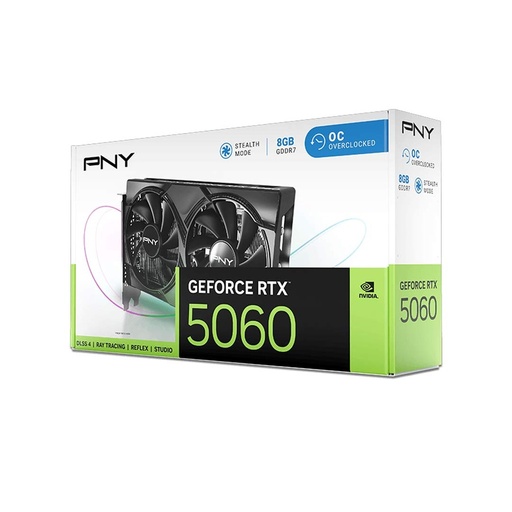
PNY RTX 5060 OC 8GB
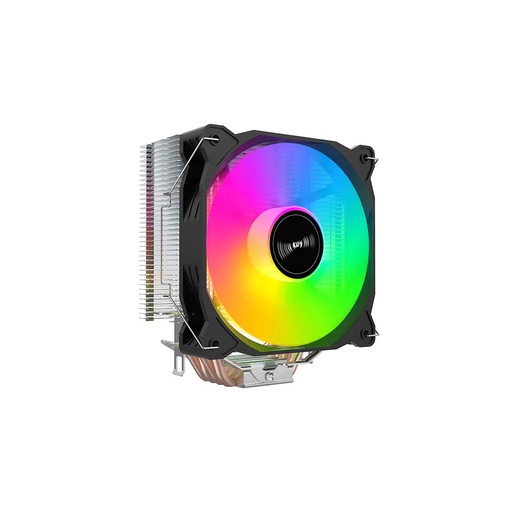
Huntkey Frozen 400SE
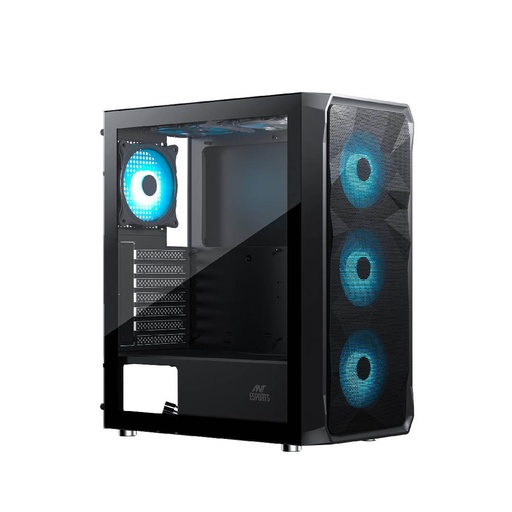
ANT Esports ICE-112
Frequently asked questions
How long does it take to build a PC?
Two to three hours for most first-timers, plus about an hour to install Windows and drivers. With experience it takes under an hour.
Is building a PC hard?
No. Most parts only fit one way, and the motherboard manual shows where each cable goes. The hard part is choosing parts that fit, which our PC Builder checks for you.
Do I need to buy thermal paste?
Not usually. Coolers that come with the processor, and most separate coolers, have paste already on them or in the box.
Which RAM slots should I use for two sticks?
On a four-slot board, the two your manual marks for two sticks, usually the second and fourth from the processor (A2 and B2). On a two-slot board, use both. That runs the memory in dual channel.
Why is there no display after building my PC?
Most often the monitor is plugged into the motherboard instead of the graphics card, or the 8-pin CPU power cable isn't connected. Also give the first start a few minutes, because the board tests the memory.
How much does Quality Computer charge to assemble a PC?
Nothing when you buy the parts from Quality Computer. If you bought the parts elsewhere, assembly costs Rs 3,000. We deliver assembled PCs all over Nepal, usually in 2 to 5 days.
Sources
- GeForce RTX 5060 family specifications, NVIDIA, read 9 November 2026
- AMD Ryzen 5 3600 specifications and drivers, AMD, read 9 November 2026
- GeForce RTX 5070 family specifications, NVIDIA, read 9 November 2026
- How to install an Intel desktop processor, Intel, read 9 November 2026
- Intel boxed processor cooler, Intel, read 9 November 2026
- Installing an AM5 processor, ASUS, read 9 November 2026
- Which slots to use for memory, ASUS, read 9 November 2026
- MSI A520M-A PRO CPU support list (BIOS versions), MSI, read 9 November 2026
- Intel Extreme Memory Profile (XMP), Intel, read 9 November 2026
- AMD EXPO technology, AMD, read 9 November 2026
- Download Windows 11, Microsoft, read 9 November 2026
- Enable TPM 2.0 on your PC, Microsoft, read 9 November 2026
- About genuine Windows, Microsoft, read 9 November 2026
- Prices and stock: Quality Computer website, checked 9 November 2026